 SubtitleRocket
Caption tutorial
How to Add MrBeast-Style Subtitles to Any Video
A browser walkthrough of the bold preset, with timing and placement tips that hold up on a phone.
The familiar MrBeast caption look comes from timing as much as typography. Words appear in short bursts, stay legible over busy footage, and change color as the speaker moves through a line. You can set it up in a few minutes without opening a full desktop editor.
"MrBeast-style" describes a popular creator-caption look. SubtitleRocket is not affiliated with or endorsed by MrBeast.
00 / Before you start
What makes the look work?
Watch what happens to the words on screen:
- Short caption chunks. One thought at a time beats a full sentence across the screen.
- Heavy, high-contrast type. White or yellow text with a dark outline survives almost any background.
- An active-word accent. A color change gives the viewer a natural reading rhythm.
- Deliberate placement. Keep captions near the lower-middle of the frame, above app controls.
01 / Start a project
Upload your video
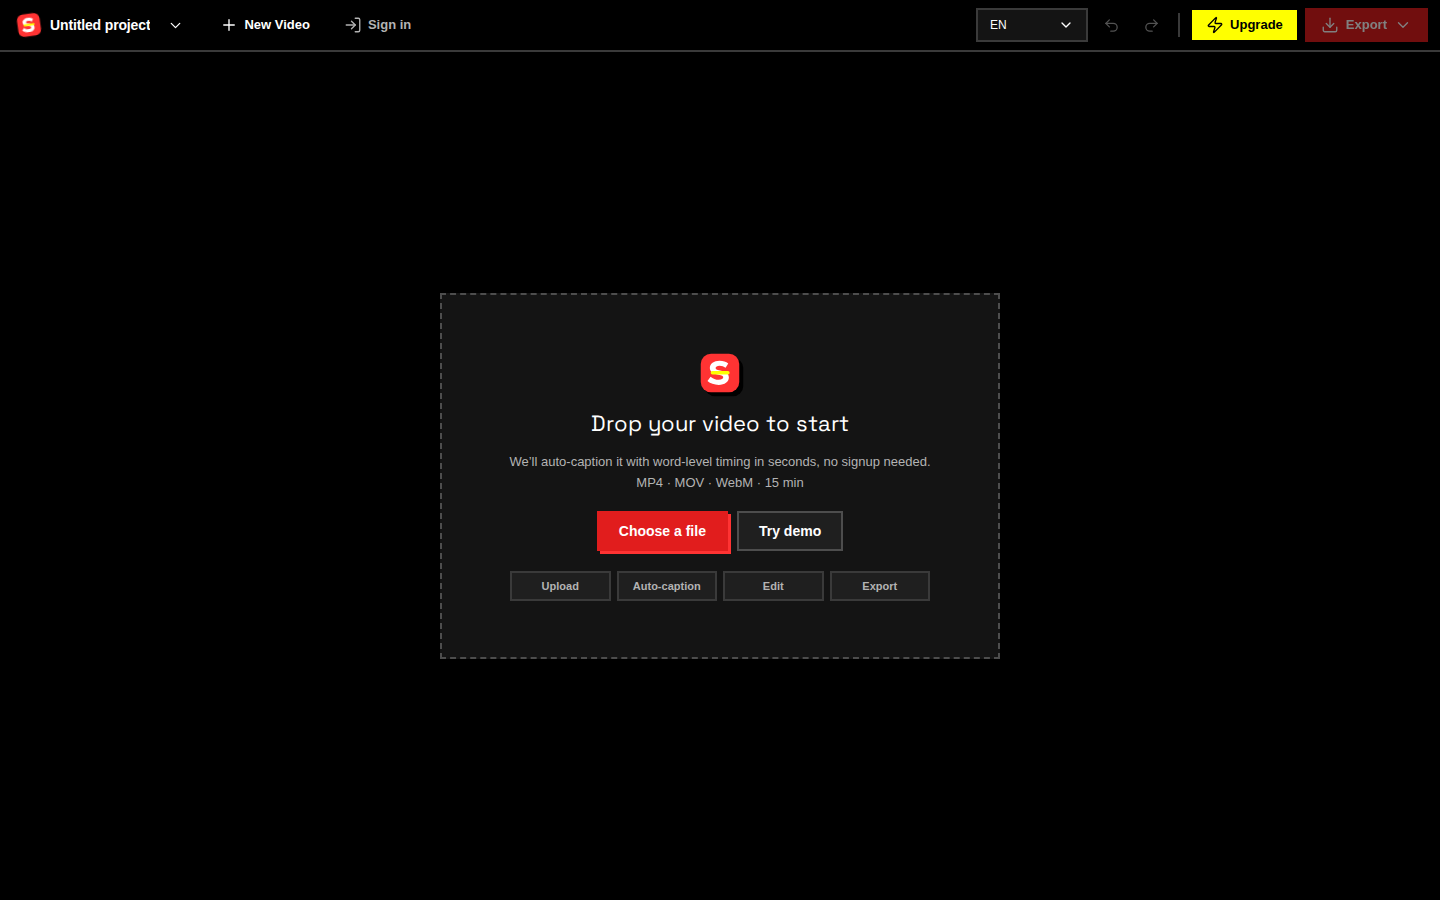
Open the SubtitleRocket editor, then drop in an MP4, MOV, or WebM file. Click Try demo if you want to learn the controls before using your own clip. The video stays in your browser while you edit.
02 / Get the words right
Generate captions, then clean the transcript
SubtitleRocket creates timed captions after upload. Read the transcript before touching the style. Fix names, numbers, and anything the speech recognizer misheard.
For this look, split long lines into compact beats. Aim for roughly two to six words on screen at once. Break at natural pauses rather than at an arbitrary character count.
03 / Pick the template
Open Styles and choose MrBeast
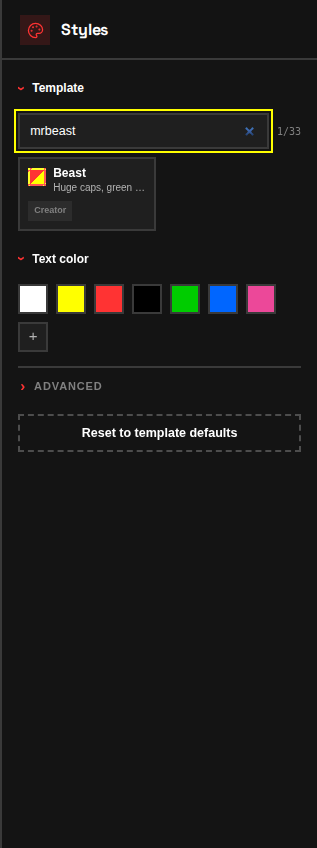
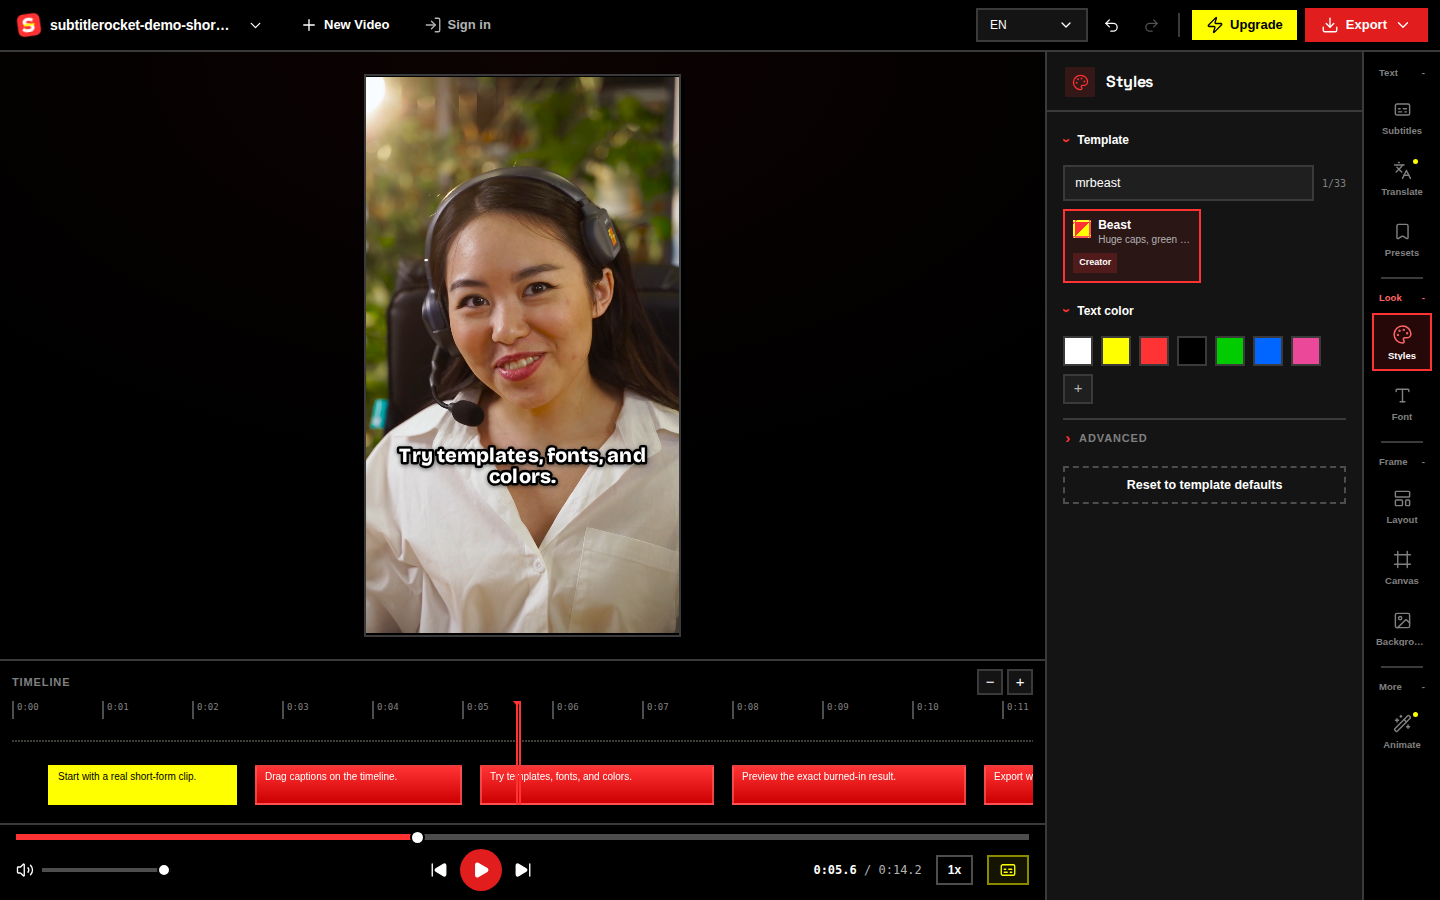
Select Styles from the right-hand tool rail and search for "MrBeast." The preset applies heavy white type, a black outline, and a green highlight to the word being spoken.
04 / Make it fit your clip
Tune size, color, and placement
The preset is only a starting point. Open Font to adjust the size and Layout to move the caption block. Check a few things in the preview:
- Make the text large enough to read on a phone, but not so large that every phrase wraps.
- Keep the green highlight if it separates the active word cleanly from the rest.
- Move captions away from faces, product details, and the bottom UI area on Shorts, Reels, or TikTok.
- Preview several dense lines as well as shorter captions.
If you need to pause the video to read a caption, shorten the chunk before shrinking the font.
05 / Finish
Preview and export the captioned video
Play the clip once from start to finish. Look for captions that appear late, disappear early, or cover something important. Open Export when the timing feels right.
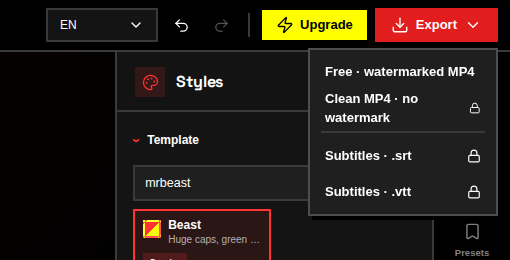
The free MP4 includes a watermark. A clean MP4 removes it. You can also download a separate SRT or VTT from the same menu.
Use the preset on your clip
Open the editor with MrBeast style selected.
Upload a clip, correct the transcript, and adjust the look to fit the footage.
Open the editor